
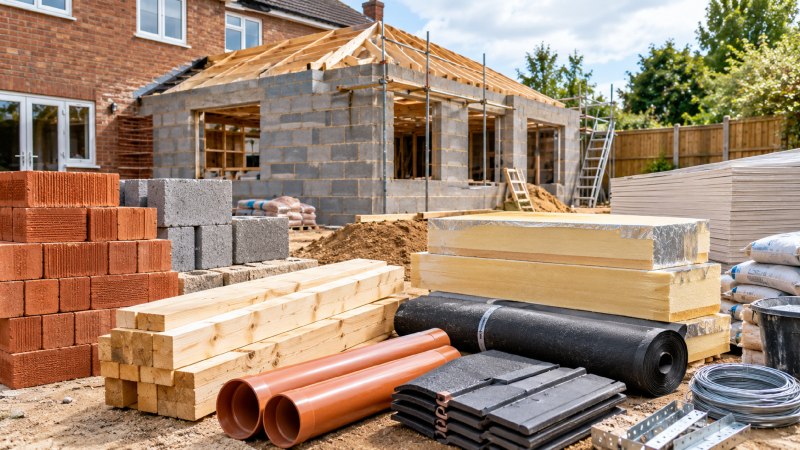
A home extension is one of the best ways to add space and value to your property, but it is also one of the easiest projects to underestimate. Most delays on site do not come from bad weather or tricky builders. They come from materials that were not ordered, arrived late or turned out to be the wrong spec.
Whether you are managing the build yourself or working alongside a contractor, a clear materials plan keeps everything moving. Here is a practical checklist, stage by stage.
1. Foundations and groundwork
Everything starts below ground. Your structural engineer or building control officer will confirm the foundation depth, but you will typically need:
- Ready-mix concrete or cement, sharp sand and aggregates
- Steel reinforcing mesh or bar where specified
- Engineering bricks or dense concrete blocks below damp proof course level
- Below-ground drainage pipe and fittings if the extension affects existing runs
Order groundwork materials early. If the trenches are dug and inspected, you want to pour as soon as possible, especially in wet weather.
2. Walls, damp proofing and insulation
Once you are out of the ground, the walls go up quickly, so this is where a reliable supply really matters. A typical cavity wall extension needs:
- Facing bricks to match your existing property, plus concrete or lightweight blocks for the inner leaf
- Damp proof course (DPC) and a damp proof membrane (DPM) for the floor
- Cavity wall insulation boards or batts
- Wall ties, cavity closers and wall starter kits to tie into the existing house
- Concrete or steel lintels above windows and doors
Matching bricks is often the trickiest part. Take a photo and, ideally, a loose brick to your merchant so they can help you find the closest match.
3. Roofing
Flat or pitched, your roof needs to be watertight before the internal work can start. Depending on the design, your list might include roof tiles or slates, breathable membrane, battens, lead flashing, fascia and soffit vents, roof windows and PIR insulation boards. For flat roofs, GRP and EPDM systems are both popular, long-lasting options.
4. Timber and first fix
Structural timber for floor joists, rafters and stud walls should be regularised and graded, usually C24 or C16 as specified by your engineer. You will also need joist hangers, restraint straps, sheet materials such as OSB or plywood, and plenty of fixings.
5. Plastering and second fix
Finally, you will need plasterboard, plaster, beads and tapes, followed by skirting, architrave, door linings and decorating supplies. These are easy to leave until last, but ordering them alongside your first fix materials avoids a gap in the schedule.
Allow for waste and breakages
Even the most careful build loses some materials to cuts, breakages and offcuts. As a rule of thumb, add around 5 to 10% to your quantities for bricks, blocks, tiles and plasterboard. Running short of a particular brick halfway up a wall can be frustrating, especially if the next batch comes from a different production run and the colour does not quite match.
Work with a local merchant
The biggest time saver on any extension is having one supplier who understands the whole build. A local, independent builders merchant can check your quantities, suggest alternatives when something is out of stock and deliver to site in the right order, so you are not storing a roof’s worth of tiles on the drive while the foundations are still curing.
If you are building in Leicestershire or Rutland, the teams at William Hercock’s depots in Melton Mowbray, Leicester and Oakham supply everything from bricks and blocks to roofing, timber and insulation, with expert advice to help you get your quantities right first time.
Final tip
Before you order anything, get your drawings approved and speak to building control. Specifications such as insulation thickness, lintel type and foundation depth are set by building regulations, and getting them right at the start saves costly changes later.